


.png)

How to Test Your Air Conditioner Thermostat


Government Rebates Now Available on Energy-Efficient Air Conditioners when Replacing your Gas Heater.
A malfunctioning thermostat disrupts home comfort, wastes energy, and leaves your air conditioner unresponsive. Testing your air conditioner thermostat ensures reliable temperature control and efficient cooling. In this guide, you will learn to identify common thermostat failures, perform basic troubleshooting, conduct advanced multimeter diagnostics, apply DIY repairs, weigh repair versus replacement options, and tap into Oz Air Group’s professional services for seamless HVAC thermostat diagnostics. Whether you simply need to check the thermostat batteries or confirm 24-volt power, you’ll follow clear steps for every scenario.
What Are the Common Signs of a Bad AC Thermostat?
A failing thermostat often undermines AC performance by miscommunicating temperature commands to the air conditioner. Recognizing early symptoms prevents extended downtime and costly repairs.
How Can You Identify a Blank or Unresponsive Thermostat Display?
A blank display indicates power interruption or internal circuit failure.
- Verify the thermostat has fresh batteries or is properly hardwired.
- Inspect the mounting plate for loose connectors.
- Look for visible cracks or moisture damage on the display housing.
Even a minor wiring fault can cut off power, leaving the control panel dark and unresponsive.
What Causes Short Cycling and How Is the Thermostat Involved?
Short cycling when the AC turns on and off rapidly occurs because the thermostat repeatedly signals the compressor.
- A miscalibrated temperature sensor sends fluctuating readings.
- Erratic wiring or corroded contacts interrupt stable communication.
- Faulty relay switches create rapid on/off sequences.
Addressing sensor accuracy and electrical continuity often restores normal cycle duration without replacing the entire unit.
How to Recognise Inaccurate Temperature Readings from Your Thermostat?
Inaccurate readings emerge when the thermostat’s internal sensor drifts away from actual room temperature.
- The set temperature and the actual room feel differ by more than 2°F.
- The room never reaches the thermostat’s target setting.
- The thermostat reads ambient heat sources (lamps, sunlight) instead of room conditions.
Sensor misplacement such as near windows or vents can distort readings. Repositioning and recalibration typically correct discrepancies.
What Other Symptoms Indicate Thermostat Malfunction?
Additional warning signs include:
- Unresponsive controls when changing modes or fan settings
- Sudden resets or unexpected reboots of programmable thermostats
- Random switching between heating and cooling modes
- Error codes or blinking lights indicating internal diagnostics failures
Each symptom points to specific components like wiring, sensor and power supply that you can test before considering full replacement.
How Do You Perform Basic Troubleshooting on Your AC Thermostat?
Simple checks often resolve 80% of thermostat problems, reestablishing normal operation without specialised tools.
Common Thermostat Problems and Simple Troubleshooting Solutions
Many common thermostat malfunctions, such as a blank display, inaccurate temperature readings, or short cycling, can often be resolved through basic troubleshooting steps. These include checking and replacing batteries, verifying circuit breaker status, ensuring correct mode and fan settings, cleaning dust accumulation, and recalibrating the temperature sensor. Addressing these simple issues can restore normal operation without requiring professional intervention.
How to Check and Replace Thermostat Batteries for Digital Models?
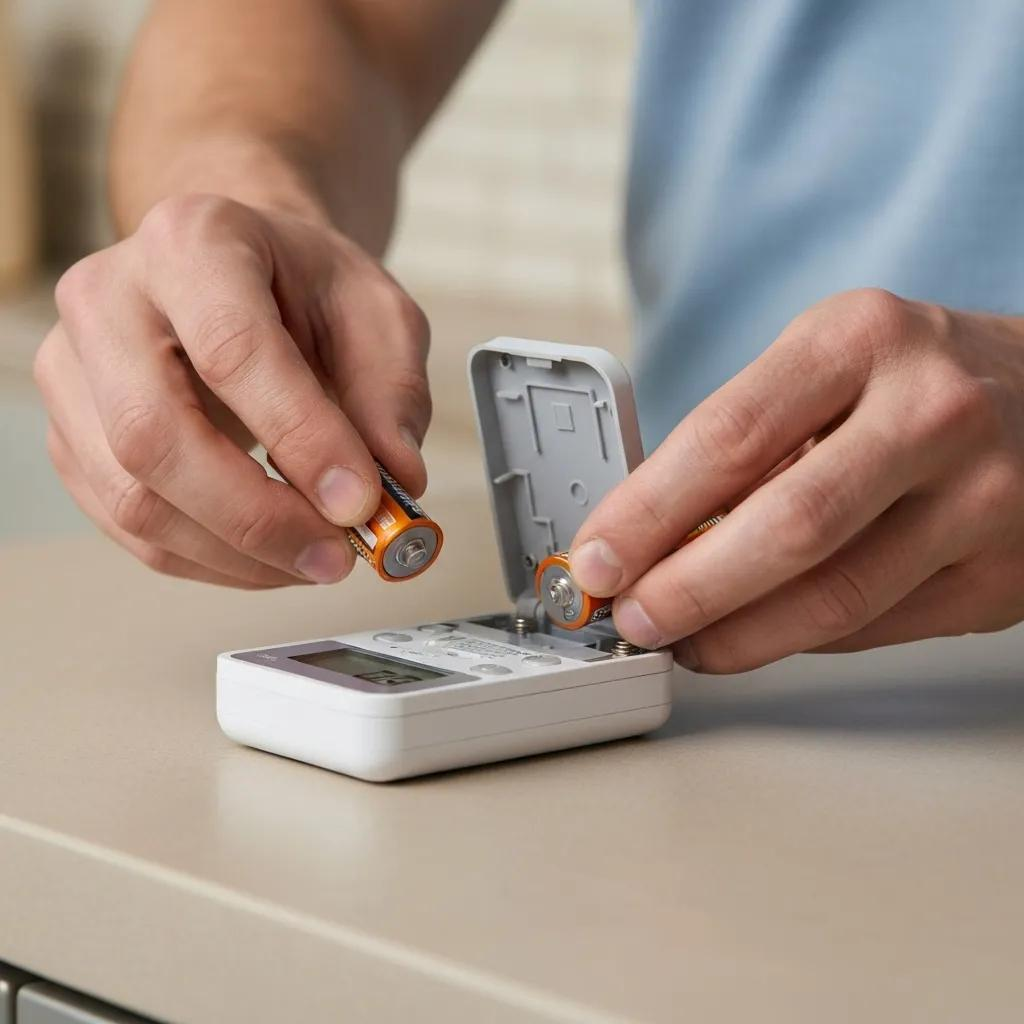
Most digital thermostats rely on AA or AAA batteries. Follow these steps:
- Open the thermostat cover to access the battery compartment.
- Remove old batteries and inspect for corrosion.
- Install fresh batteries, noting polarity (+/–).
- Replace the cover and observe display activation.
Replacing weak batteries immediately restores power to the control display and internal clock.
How to Verify Circuit Breaker and Power Supply to the Thermostat?
A tripped breaker or blown fuse cuts power to the thermostat’s 24-volt transformer. To check:
- Locate your home’s electrical panel.
- Identify the breaker labeled “HVAC” or “Air Conditioner.”
- Ensure the breaker is in the ON position; reset if needed.
- Test the thermostat’s display like power restoration confirms circuit continuity.
Ensuring consistent power supply supports stable thermostat performance and prevents future brownouts.
How to Confirm Thermostat Settings Are Correct and Not Causing Issues?
Incorrect mode or temperature settings can mimic hardware failures. Review settings by:
- Verifying the system mode (HEAT/COOL/OFF) matches your needs.
- Checking fan settings (AUTO/FAN ON) for proper airflow timing.
- Ensuring schedule programming aligns with current time and day.
Correcting mode mismatches often eliminates confusion between heating and cooling commands.
When Should You Reset Your AC Thermostat and How?
Resetting a programmable thermostat clears errant configurations and reboots the control board. To reset:
- Locate the reset button or access the menu option under “Settings.”
- Press and hold the reset for 5–10 seconds until the screen blanks.
- Re-enter basic settings: time, date, system type.
- Confirm the display returns to normal operational screen.
A timely reset can resolve hidden software glitches, restoring reliable programming and sensor logic.
How to Test Your AC Thermostat with a Multimeter: A Detailed Guide
Using a multimeter unveils wiring continuity, voltage supply, and component integrity essential for advanced diagnostics.
What Are the Essential Thermostat Wiring Terminals and Their Functions?
Below is a breakdown of standard thermostat terminals:

How to Perform a Continuity Test on Thermostat Wiring Using a Multimeter?
A continuity test verifies wiring connections deliver uninterrupted signal paths.
- Disconnect power to the HVAC system at the breaker.
- Set the multimeter to the continuity or resistance (Ω) setting.
- Touch one probe to the thermostat terminal and the other to the corresponding wire end at the outdoor unit.
- A beep or zero resistance confirms a solid connection; infinite reading indicates a break.
Confirming continuity guarantees reliable communication between thermostat and HVAC components.
How to Measure 24-Volt Power Supply at the Thermostat Terminals?
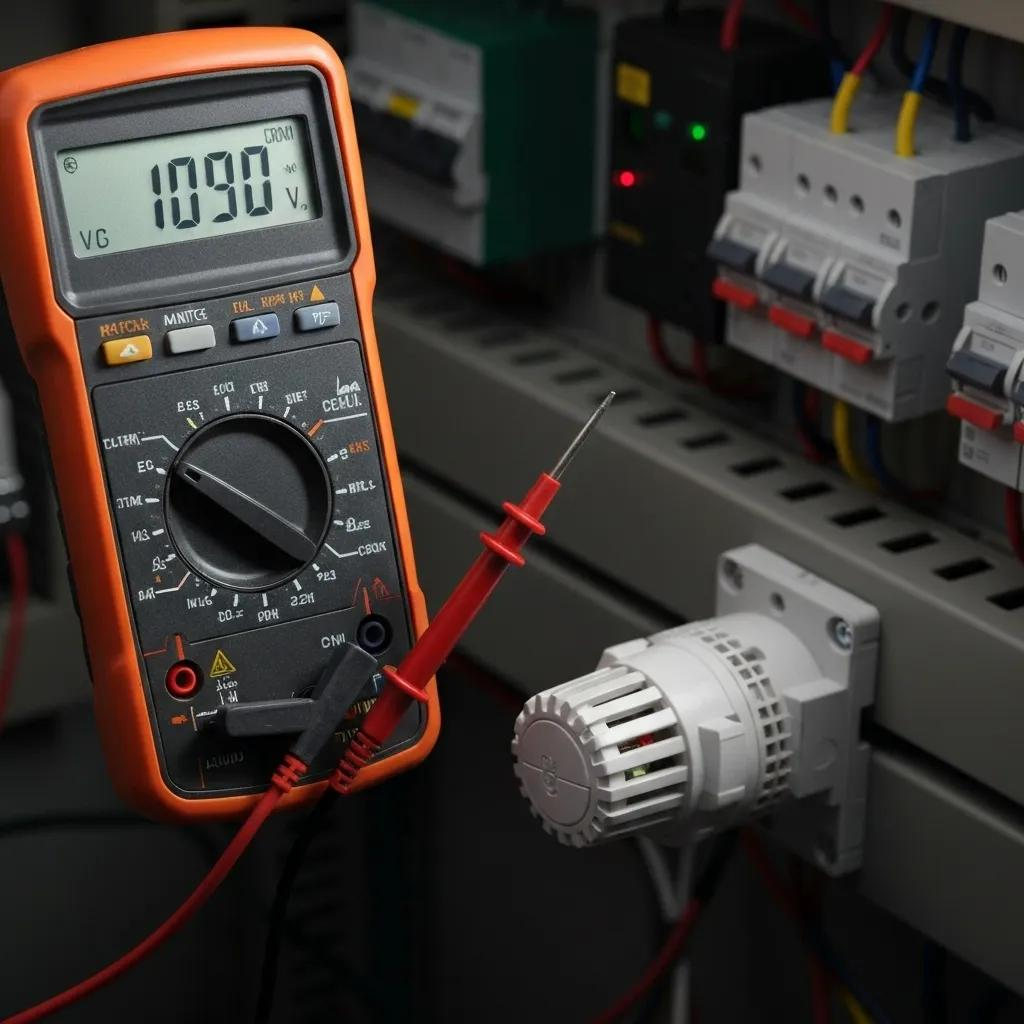
Validating the 24V supply prevents misdiagnoses of dead thermostats. To test:
- Restore power and switch the multimeter to AC voltage.
- Place probes on R (red) and C (common) terminals.
- Read the voltage; it should register between 20V and 30V AC.
- Values outside this range signal transformer faults or wiring degradation.
Accurate voltage measurement ensures the control board receives the necessary operating power.
What Are the Correct Multimeter Settings and Safety Tips for Testing?
Proper multimeter setup and safety prevent damage to equipment and injury:
- Select the AC voltage setting for power tests and resistance/continuity for wiring checks.
- Always disconnect power before testing continuity.
- Wear insulated gloves and avoid touching metal probe tips.
- Secure thermostat wiring terminals to prevent accidental shorts.
Following these precautions enhances testing precision and personal safety.
What Are the Most Common AC Thermostat Problems and DIY Fixes?
Homeowners encounter recurring thermostat issues that often yield to simple DIY interventions.
How to Troubleshoot Loose or Damaged Thermostat Wiring Connections?
Loose wiring prevents stable signal transmission to the HVAC system.
- Turn off power at the breaker before handling wires.
- Remove the thermostat cover and gently tug each wire to confirm tightness.
- Trim and re-strip frayed ends to expose fresh copper.
- Re-secure wires under terminal screws, ensuring a snug fit.
Reestablishing firm connections quickly restores reliable thermostat-to-unit communication.
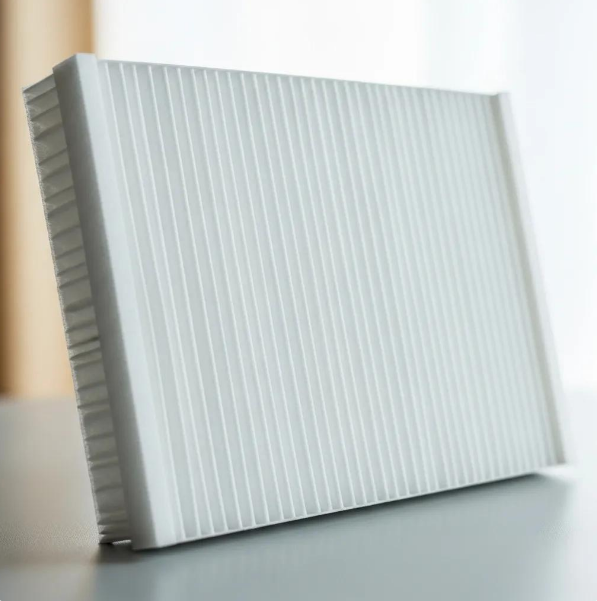
How Does Cleaning Your Thermostat Improve Performance?
Dust and debris can obstruct sensor operation and button contact. Cleaning steps:
- Gently remove the thermostat from its wall plate.
- Use a soft-bristle brush or canned air to clear dust.
- Wipe surfaces with a dry microfiber cloth to avoid liquids on circuit boards.
- Reattach the unit and verify sensor readings normalise.
A clean housing and sensor area support accurate temperature detection and control responsiveness.
How to Calibrate Your Thermostat for Accurate Temperature Control?
Calibration aligns thermostat readings with actual room temperature:
- Place a reliable thermometer next to the thermostat.
- Compare readings after 15 minutes.
- Access the calibration menu and adjust the offset value (±1–3°F) to match the thermometer.
- Confirm the new setting maintains consistency over several hours.
Proper calibration enhances comfort by reducing temperature swings and erratic cycling.
When Is Battery Replacement a Simple Fix for Thermostat Issues?
Low battery voltage often triggers display flicker and power interruptions. Replace batteries when:
- The display shows a low-battery icon or blank screen.
- The thermostat randomly resets or loses programming.
- Response to button presses feels sluggish or inconsistent.
Fresh batteries instantly boost display brightness and control reliability without further repairs.
When Should You Repair or Replace Your AC Thermostat? Cost and Benefits Explained
Deciding between repairing and replacing your thermostat depends on age, features, and cost-effectiveness.
What Factors Determine Whether to Repair or Replace Your Thermostat?
Key considerations include:
- Unit age and availability of replacement parts
- Extent of damage (simple wiring fix versus circuit board failure)
- Desired features (programmable schedules, Wi-Fi connectivity)
- Warranty coverage and labor costs
When diagnostic costs approach replacement prices, upgrading often delivers greater long-term value.
What Is the Average Cost to Replace an AC Thermostat in 2025?
In 2025, thermostat replacement costs vary by model and installation complexity:

Average Costs for AC Thermostat Replacement
In 2025, the average cost to replace an AC thermostat, including material and labor, typically ranges from $120 to $330, with some estimates extending from $80 to $440. Basic digital thermostats can be installed for as low as $70, while advanced smart Wi-Fi models may cost between $150 and $500 for the unit, with total installation potentially reaching up to $800 depending on complexity and additional wiring needs.
Investing in a programmable or smart thermostat can yield energy savings that offset higher upfront costs.
What Are the Benefits of Upgrading to a Smart Thermostat?
Smart thermostats enhance HVAC performance by:
- Learning homeowner habits to optimise temperature schedules.
- Providing remote access and alerts via smartphone apps.
- Reporting energy usage trends for informed savings.
- Integrating with home automation platforms for whole-house efficiency.
Energy Savings and Benefits of Smart Thermostats
Research indicates that smart thermostats can lead to significant energy savings, with studies showing reductions of 6% to 15% on cooling and 10% to 12% on heating costs for residential users. These devices offer benefits such as remote control via smartphone applications, learning algorithms that optimise temperature based on user behavior, and integration with home automation systems, contributing to both energy efficiency and enhanced comfort. These advanced features support comfort, convenience, and reduced utility bills over time.
How Does Professional Repair Compare to DIY Fixes?
DIY repairs save on labor but carry risks of misdiagnosis and warranty voiding. Professional services offer:
- Certified HVAC technicians with specialised diagnostic tools
- Guaranteed parts and labor warranties
- Time savings and minimised error rates
- Comprehensive system inspections for related issues
When safety or complex electrical work is involved, professional repair ensures lasting reliability.
How Can Oz Air Group Help with Professional AC Thermostat Testing and Repair?
Oz Air Group combines expert technicians, advanced diagnostic equipment, and preventive strategies to keep your thermostat in peak condition.
What Expert Thermostat Repair and Installation Services Does Oz Air Group Offer?
Our services include:
- Full diagnostic testing using calibrated multimeters and thermal cameras
- Precision wiring repairs and circuit board replacements
- Installation of basic, programmable, and smart thermostats
- Post-service performance verification and customer guidance
These offerings enhance your HVAC system’s responsiveness and longevity.
How Do Preventative HVAC Maintenance Plans Protect Your Thermostat?
Regular maintenance plans from Oz Air Group covers:
- Biannual system inspections to catch thermostat drift or wiring faults early.
- Sensor calibration checks and software updates on programmable models.
- Cleaning of control units and air handler components.
- Priority scheduling, discounts on parts, and upfront cost transparency.
Preventative care reduces emergency service calls and extends your thermostat’s operational life.
How to Schedule a Professional Thermostat Diagnostic with Oz Air Group?
Scheduling is fast and convenient:
- Visit our website or call our HVAC specialists.
- Provide your address, thermostat model, and observed symptoms.
- Choose a preferred appointment date and time.
- Receive a confirmation with technician details and expected service duration.
A thorough diagnostic visit ensures precise problem identification and swift resolution.
What Are Frequently Asked Questions About Testing and Fixing AC Thermostats?
Homeowners often seek quick answers before committing to in-depth troubleshooting or professional service.
How Do I Know If My AC Thermostat Is Bad?
Symptom indicators include:
- Blank or flickering display despite fresh batteries
- Persistent temperature inaccuracies over 2°F
- Short cycling or failure to call for cooling
- Erratic mode switching without user input
These signs confirm the need for detailed diagnostics or replacement.
How Do You Test a Thermostat with a Multimeter?
To test with a multimeter:
- Power off the HVAC circuit.
- Set the meter to continuity or AC voltage.
- Check continuity between corresponding terminals for wiring integrity.
- Measure voltage across R and C terminals (should read ~24VAC).
Accurate testing isolates wiring faults from control board failures.
What Are the Signs of a Faulty Thermostat Sensor?
A failing sensor exhibits:
- Constantly drifting temperature readings.
- Inability to maintain a set temperature.
- Unexplained error codes or resets on programmable units.
Sensor replacement or recalibration restores accurate temperature detection.
How Do I Reset My AC Thermostat?
Resetting clears configuration errors:
- Locate the reset option in the settings menu or use the reset pin.
- Hold the reset for 5–10 seconds until the screen reboots.
- Reconfigure essentials like time, date, system type.
This process resolves software glitches and restores stable operation.
Can I Fix My Thermostat Wiring Issues Myself?
Simple wiring repairs are feasible if you:
- Turn off power at the breaker panel.
- Strip and resecure exposed conductors under terminal screws.
- Use a multimeter to confirm continuity before restoring power.
Complex circuit board or transformer issues, however, warrant professional intervention.
Selling comfort, energy efficiency, and dependable HVAC performance begins with a properly functioning thermostat. Whether you choose DIY diagnostics or enlist Oz Air Group’s expertise, these troubleshooting and repair methods ensure your air conditioner responds to every temperature setting, keeping your home cool, efficient, and worry-free.
Areas we service
Oz Air covers Melbourne and its northern suburbs.

Get in touch


.png)